

 This is the second post in our series on
brewing beer at home, by special guest, award winning brewer Boaz Harel. CLICK HERE to read Part 1: Why make your own beer?
This is the second post in our series on
brewing beer at home, by special guest, award winning brewer Boaz Harel. CLICK HERE to read Part 1: Why make your own beer?
One little piece of advice before you forge
forth: Looking at all this stuff can be intimidating, and it's easy to get
overwhelmed or feel like this is too complicated for you to do. It's not. Making
beer is easy. Primitive stone age people did it 6000 years ago with clay
pots and a bonfire, it it worked fine. The only difference now is that we've
got much better equipment, and many more people to help you if you get stuck.
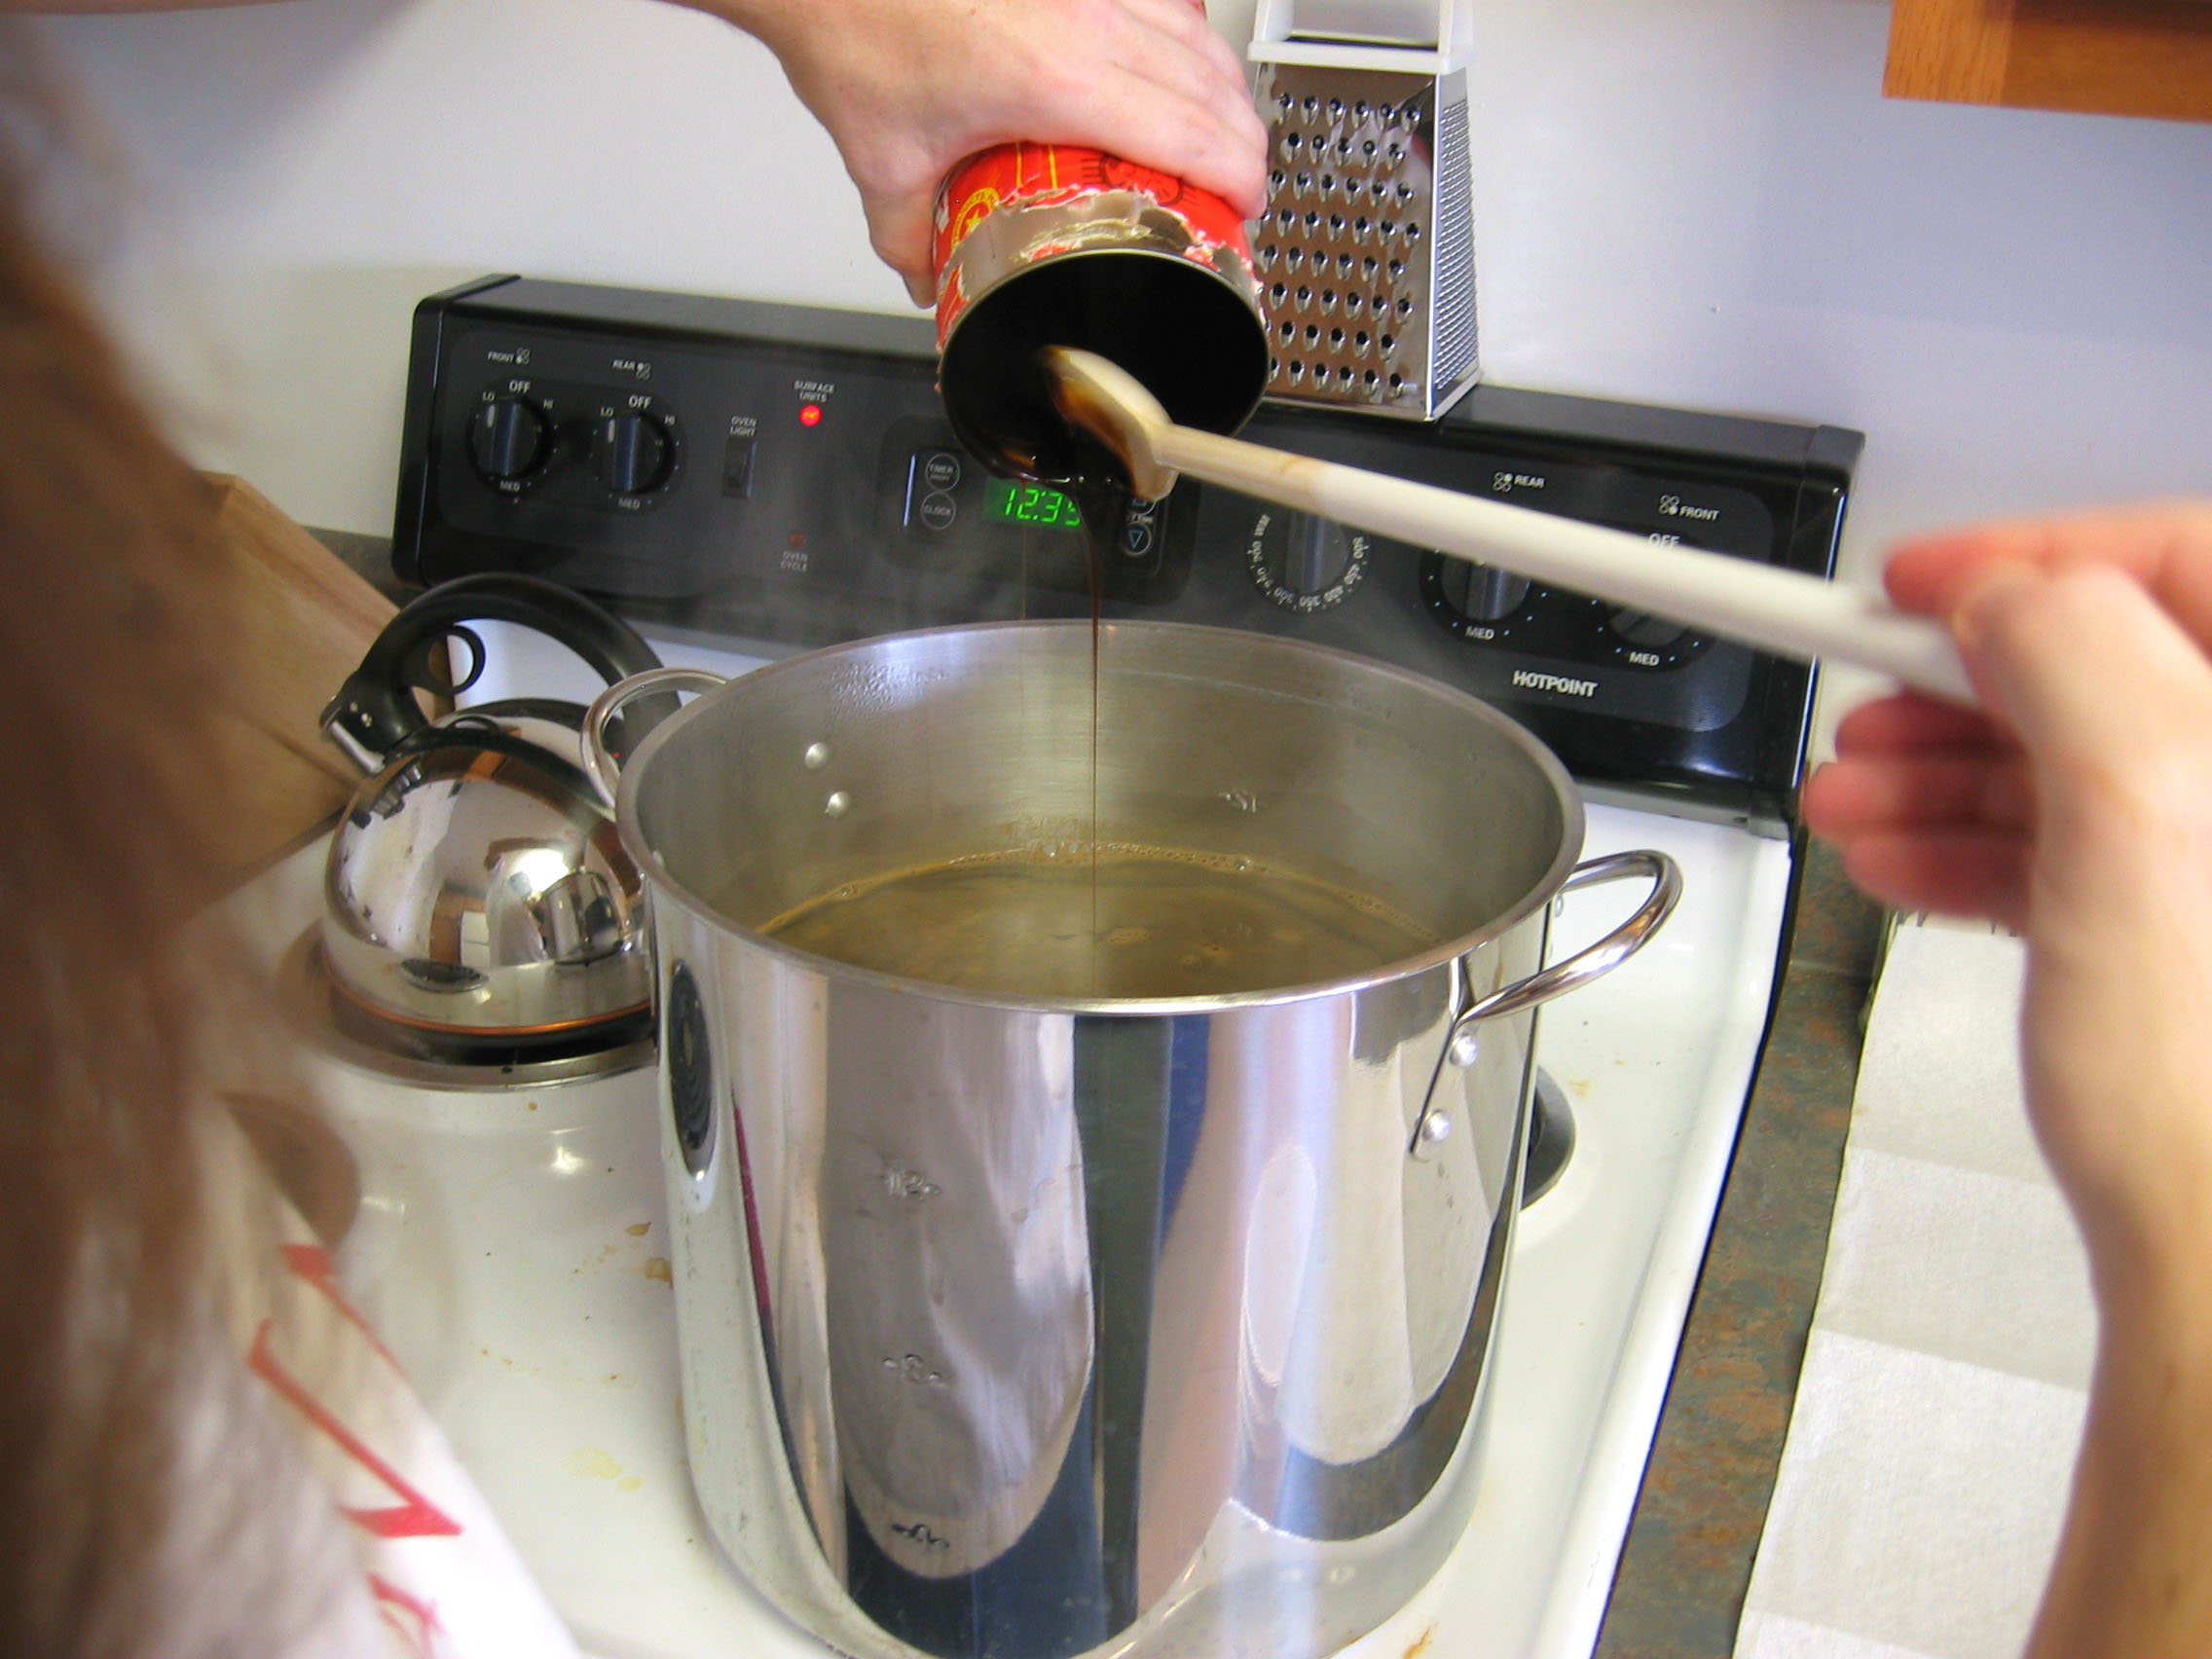 |
| Using Wort Extract by Jason Pratt |
In the Part 1 I discussed why you
should brew your own beer at home. Now, I'm going to talk about the basic process
of brewing, and try to tackle some of the common questions of new homebrewers.
If you are familiar with the process (or are just impatient) you can skip to
the links at the bottom of the post for more concrete instructions and
resources for brewing at home.
Let’s start with the most basic question: What does brewing involve, exactly? Well, simply put, when you brew you take the sugars and flavors from malted grain, mix it with water, boil, season to taste, cool, and ferment. See? It's simple! Now go brew!
Ok, so maybe it's not as simple as it sounds. To get the sugar out of the grain you have to rinse it out with water at specific temperatures for specific times, using the twin processes of "mashing" (soaking the grain) and "luthering" (rinsing the grain and filtering out the particles). Doing this at home means that you start with a bunch of dry grain and end up with a big pot's worth of grain-flavored sugar water, known as "wort." When you start your brewing from grain you are using "all-grain" brewing.
Brewing all-grain is
not difficult, and most serious home brewers use this method. Unfortunately it
does take some extra time, equipment and expertise. You can skip this stage and
just buy ready made wort concentrate, known as wort "extract."
When you brew with extract you are known (unsurprisingly) as an "extract
brewer."
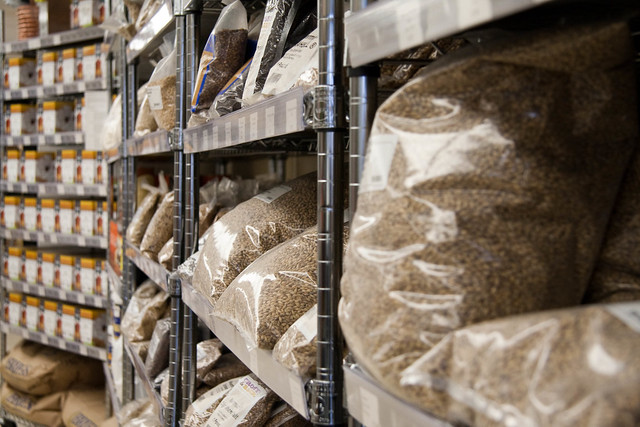 |
| Grains by Mike - Another Pint Please... |
The composition of your grain largely determines the flavor of your beer
(makes sense, doesn't it? You get out what you put in). Grain basically divides
into two kinds: base grain (called "pale",
"2-row", "pilsner", and several other names, depending on
usage) and specialty grain,
of which there's a bewildering variety ranging from light caramel, to honey, to
chocolate and coffee. Generally speaking, the base malt provides the base
sugar, and the specialty grain supplies the color and extra flavors.
Typically, special grains don't actually have any sugars, just flavor
compounds. Which means that you do not need to mash them, just steep them in
some warm water to get the flavors out. This is important for extract brewers
who wish to add certain flavors to their beer - you just get some specialty
malt, steep it in some warm water, and then add that to your reconstituted
wort. It's all about getting the same result, without much of the hassle.
Ok, so you've got your wort, it's in the kettle (that's what we call the really big pot that we use for brewing, though if you brew extract you can also brew in a much smaller pot). Now it's time to boil it. There are two, make that three, reasons to boil your wort:
Ok, so you've got your wort, it's in the kettle (that's what we call the really big pot that we use for brewing, though if you brew extract you can also brew in a much smaller pot). Now it's time to boil it. There are two, make that three, reasons to boil your wort:
 |
| Hop boil/Wort by Bill Read |
1. Sanitation. Wort is a combination of sugar and warm water, which
makes it a perfect breeding environment for single cell creatures like yeast
(which we want) and bacteria (which we don't want). By boiling the wort after
we made it, we can assure that it's sterile, and that nothing is growing in it.
After we've killed everything in our wort, we can cool it down and add just the
things we want into it: the yeast.
2. Chemical composition. Aside from water and sugar, the wort also contains certain organic compounds, proteins, flavors, and odds and ends that come from the grain. While none of them are dangerous (remember, this is just water and grain juice--natural and healthy), some of them don't taste very good. But boiling the wort allows many of these compounds to boil off or precipitate, leaving you with better beer.
2. Chemical composition. Aside from water and sugar, the wort also contains certain organic compounds, proteins, flavors, and odds and ends that come from the grain. While none of them are dangerous (remember, this is just water and grain juice--natural and healthy), some of them don't taste very good. But boiling the wort allows many of these compounds to boil off or precipitate, leaving you with better beer.
3. Hop utilization. Which leads us to our next topic...
Meet the hop plant, Humulus lupulus. This is what gives beer its
bitterness, its aroma, and its character. Remember I said you season your
wort to taste? This is how you do it.
 |
Photo of Hops by Michelle Kroll
|
 |
| Dried Hops from Stepas |
Hops grow in blubs on bines (no, not vines, bines) that grew about two to three
times the height of a human. The blubs contain certain oily substances that
impart bitterness, flavors, and aromas to the beer. Each variety of hop gives
different combinations of those compounds. Depending on how long you boil your
hops for, they will also give you different amounts of the compounds. For
example: boiling hops for 60 minutes will give you a lot of bitterness but not
much flavor or aroma. Boiling the same hop for 15 minutes will give you a
little bitterness, lots of flavors, and some aroma. Boiling for 1-5 minutes
will give you lots of aroma, some flavor, and basically no bitterness. Hops
are an amazing area for creativity in beer making. Some hops give you
aromas of citrus, some of tropical fruit like mango and guava, some will give
you grassy notes, some earthy, piney, dark fruit, and even chocolate! But don't
get overwhelmed by all the options: when you brew a beer recipe it will tell
you what hops to use and when to put them in. It's really very easy.
So once you boil your wort and added your hops it's time to pitch yeast into it to turn it from wort to beer. The yeast will consume the sugars in your wort and turn them into alcohol, thus turning your sweet barley-sugar tasting wort into beer. (Actually, the legal definition in theUS
So once you boil your wort and added your hops it's time to pitch yeast into it to turn it from wort to beer. The yeast will consume the sugars in your wort and turn them into alcohol, thus turning your sweet barley-sugar tasting wort into beer. (Actually, the legal definition in the
 |
| Plate Chiller from Chris Norrick |
 |
| Immersion Chiller from Mast |
There are many methods for cooling the wort, starting with things like
counter-flow and plate chillers, immersion chillers, ice baths, and on down to
not cooling it at all, just letting it cool down naturally ("no
chill"). The method you choose depends on your resources, your available
space, and the amount of wort you made. For example, if you made wort out of extract
and 7 liters of water, you can cool it down by boiling and then freezing 13
liters of water, and then adding that chunk of ice to your wort (we pre-boil
the water to kill any bacteria that might live in it). I personally use a
combination of an immersion chiller and a plate chiller to chill
my wort, but then I have 26 liters (6.8 gallons) of wort to chill.
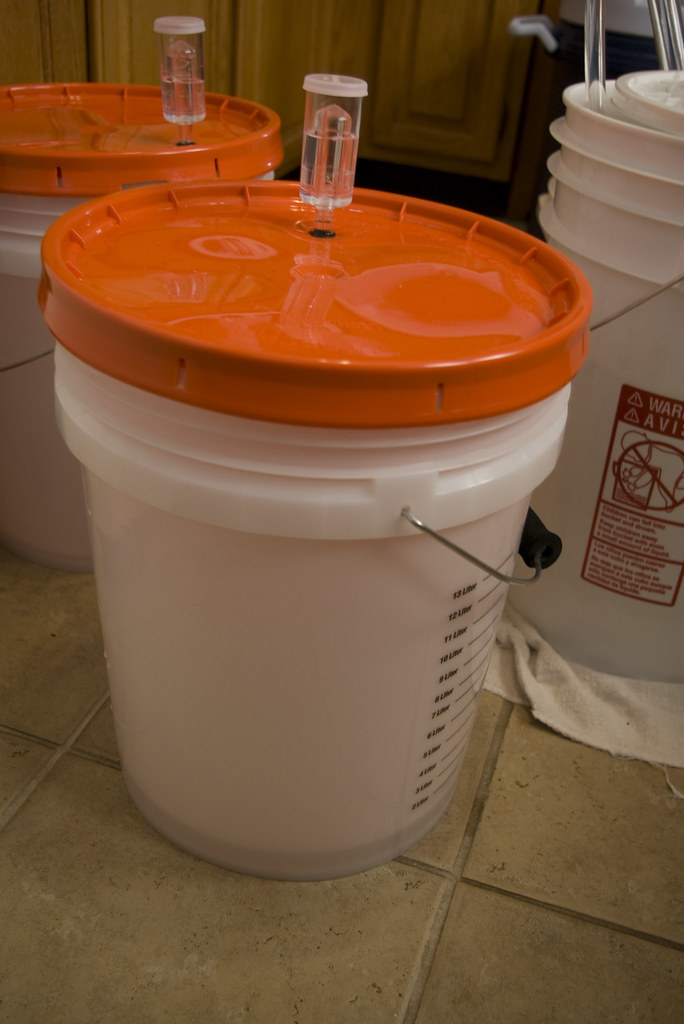
Finally, when your wort is cool enough so that
the yeast can live in it, you need to put it in a place where it would not be
disturbed while they go about the business of converting sugar to alcohol. That
place is the fermenter - an air-tight container big enough to
hold all of your wort plus some head space. Most people use food grade plastic
buckets like as fermenters, as they are cheap, big, and sturdy. Regardless
of what you ferment in, you have to remember that yeast convert sugar not only
into alcohol, but also into carbon dioxide (CO2) so if you put the
wort in a truly airtight container, the pressure from the CO2 will
eventually blow the lid off. To avoid that, we need a solution that will allow
trapped CO2 to escape, but keep outside air (full of contaminated
dust particles and cat hair) out of your beer. For that, we use a simple but
ingenious device called an airlock.
And that's it! It takes any where from about two-three hours to half a day to make a batch of beer (depending on your method), about two weeks to ferment it, and about two hours to put it in bottles. All in all, not including the waiting time, you can produce about 60 bottles of beer in about 5 hours, and have a lot of fun doing it!

So if you've read this whole post and are dying to get started (or you skipped straight to the end) here are a few links to help get you on your way.
 |
| Fridge of fellow homebrewer Avi Rji |
Brewing links in Israel
המרכז לבירה ביתית -
Beer making materials and informationבירדי - Beer making materials, including a beginners forum
המבשלן - The premier forum of beer makers in Israel. This is the place for veteran brewers, so the discussion may be a bit advanced for a beginner. Still, if you ever want to become a serious brewer in
The winemaker - Those of you in the
Brewing Links in the
MoreBeer.com - Material, supplies, equipments, books, and forum. One-stop-shop for brewing
NorthernBrewer.com- Material, supplies, equipments, books, and forum. One-stop-shop for brewing
General Brewing information and blogs:
How to Brew - John Palmer wrote what many consider the ultimate how-to book about brewing. Now in stores in its third edition, John put the first edition online for free. A must read
HomebrewTalk - The biggest homebrew forum in the world. If you've got a question, someone on there will have an answer (or three).
The Beer Judge Certification program - Do you know your pale ale from your bitter? This is the place to find out everything about beer styles, competitions, and general beer info
Beersmith - For you techie people out there, this brewing software is a great way to build recipes, tweak, calculate, and estimate. Also the site features a nice forum and a good recipe collection
The American Homebrewing Association - A ton of info, a magazine, and advocacy of home brewing in the states. If you're an American, join this.
Brew Your Own magazine - Probably the best homebrew magazine out there. Lots of stuff on the web page too
The Mad Fermentist - Mike "The Mad Fermentist" Tonsmeire has been brewing for years, and writing about it. Good reading. Especially his beer reviews.
The Three Cats Brewery Blog - My own brewing blog :)
So what are you waiting for? Go brew!

what an interesting post! very intricate process that's for sure! gigi. food and beauty blogger @ www.gigikkitchen.blogspot.com
ReplyDelete