Showing posts with label DIY. Show all posts

Friday, August 16, 2013

Herbal Salve/ Ointment/ Balm Tutorial PLUS Freebie!


My good friend Allyson has been making natural household products for a couple years and just launched a business selling natural body products - Etz Adin (literally meaning gentle tree). {More info and Freebie coupon code at the end.} I asked Allyson to share her basic technique with us.

Salves are a lot of fun to make.  There are endless combinations of ingredients and you end up with a really great product that heals and nourishes the body.  We love the Natural Healing Salve at our house and use it for just about everything including bug bites, cuts and scrapes, sunburn, eczema, and even diaper rash!

Today, I’m going to share with you the basics of making a salve.  Although it is possible to create a salve from beginning to end in one day, you really want to give it 4-6 weeks to become as rich and effective as possible.

Monday, July 22, 2013

Sourdough Pita - Great Blog Swap PLUS Giveaway

Chef Alison of AliBabka
In honor of the first anniversary of the Kosher Connection I have been randomly assigned a fellow kosher blogger to be inspired by. It my my great pleasure to introduce my muse this week, AliBabka. The author is Chef Alison (Barnett) Gütwaks, is a recent graduate of the Institute of Culinary Education (ICE) in NY. It was important to her to get a well rounded culinary education and not limit herself to kosher culinary colleges. I enjoyed reading about the challenges she faced as a torah-observant Jew cooking in a non-kosher environment.

While reading through AliBabka in search of a recipe I would like to make my own, I enjoyed the creativity, wit, and professional experience that Chef Alison brings to the table. (No pun intended.)


Pita in a pan from AliBabka
In the post "Mo-Rockin In Your Kitchen", guest blogger Elisheva Avital writes about two Moroccan flat breads I have been wanting to try my hand at, pita and moufletta. With the easy access to fresh pita I enjoy in Israel, it's not often I find time to make my own, even if it is healthier and/or tastier. But I thought my blog was in need of both a sourdough entry and a pita recipe. In order to make the recipe my own, I converted her recipe to 90% Whole Wheat Sourdough Pita.

Sunday, May 26, 2013

How to Make Kosher Dill Pickles


I'd like to tell you about the method I use to make naturally fermented cucumber pickles. The same technique can be used for many different fruits and vegetables by varying the spices and the time. If you read no further, this is what you need to know:

 A. Use an appropriate amount of salt. Too little and unwanted molds and bacteria can develop and the cucumbers will become soft. Too much and you will retard the growth of good yeasts and bacteria, the pickling will take an unnecessarily long time, be unpalatably salty, and the cucumbers could get too sour, or too soft before they're ever really tasty.
B. Keep everything submerged. As long as your cucumbers (or other veggies) are safely deep in the brine, you can skim off whatever scum forms on top.

Monday, May 13, 2013

Probiotic Soda Recipes

Probiotic soda made from water kefir is an excellent way to stay hydrated and nourished all day!

If you missed my post What is Water Kefir? you probably want to check that out. Today I want to tell you how to make flavored soda from water kefir. In this post I will refer to the water kefir (a.k.a. tibicos) SCOBY as "grains." This term refers to the look of them, as in "grains of sand", they are in no way grains like wheat, barley, oats, rye, or spelt.


If you're starting from scratch, you will need to acquire water kefir grains. I ordered my grains from Keysands, which sells dehydrated and live grains. They have excellent, friendly customer service, so email them if you have questions. Follow their instructions to re-hydrate or revive your grains.
Now that you have a healthy batch of grains... Lets get started!


Thursday, April 18, 2013

Basic Sauerkraut - How it all began


The first food I purposely fermented was a plain sauerkraut. Just cabbage and salt. I didn't like it at first, but my 1.5 and 6 year old boys were big fans. Then either my taste matured or the kraut matured after another month in my fridge, and suddenly I couldn't get enough!


I apologize if you can’t run across the street to the local veggie stand/quickie mart and pick up a cabbage for about 50 US cents a pound. I know; we’re blessed. In your case, buying the cabbage might be the hardest part of the recipe. Honest, the rest is that easy.

picture taken from my window
You will need:

  • ceramic crock or jar(s)
  • cabbage
  • non-iodized salt
  • any other fruits, veggies, seaweed, or spices you want to add like:
    onions, apples, carrots, juniper berries, wakame, ginger, garlic...

Tuesday, April 16, 2013

Intro to Fermenting Vegetables


I have been absolutely obsessed with fermenting foods the last few weeks. My interest began as I read and heard reports on the multiple benefits of probiotics and the importance of a healthy balance of bacteria in the gut. It went beyond good digestion and better absorption of nutrients. Studies show better mood and brain function associated with healthy gut flora. Research suggests that 80% of the immune system may be in the gut, with probiotic-rich foods, like kimchi, offering serious illness preventing effects.

A study published in Nature found that, "Mice fed a strain of Lactobacillus rhamnosus were less anxious and produced fewer stress hormones than control animals."


I'm sold! But consuming effective amounts of probiotic tablets and yogurt can get very expensive. Multiply that times the six anxious, antibiotic ravaged guts in our household, and it is completely cost prohibitive. Then I remembered, I could culture my own probiotics! I've posted before about kombucha and kefir, but I was having trouble getting my hands on kosher kefir grains or a kombucha SCOBY. I discussed my interest with a friend, who told me she makes her own sauerkraut - and it's easy!


Sunday, February 10, 2013

''Fresh'' Sriracha - homemade hot sauce


I recently made "fresh" (unfermented) sriracha after hearing about the popular "Rooster Sauce" or "Hipster Ketchup" on a couple of my favorite podcasts. I based my sauce on the technique from Food52, with some changes for my palette.

0. Before you begin handling the chilis, put on gloves and do not remove them until you have washed the cutting board and knife after step 2.

1. Coarsely chop:
  • 3/4 lb (1/3 kg) red chili peppers
  • 4 cloves of garlic
2. Soak overnight in:
  • 1 cup apple cider vinegar (or enough to just barely cover the chilis after you squeeze them down)
  • 1 tsp sea salt
3. The next day add:
  • 2 Tbsp sugar
  • 1 tsp tamari or good soy sauce (optional)
  • a few drops of mushroom sauce or fish sauce (optional)
4. Simmer for 5-15 minutes. Blend well. (I used a hand-held stick blender.)

5. Pour the sauce through a mesh strainer. Use a spatula to squeeze out every last drop. Scrape the bottom of the strainer.


Thursday, January 24, 2013

Reusable Sandwich and Snack Bags Tutorial

To cut back on our use of plastic, I 'upcycled' these bags from ripped jeans. I began collecting post-wearable jeans for the aprons I was making. This is a great way to use smaller pieces of material.

Why these are better than the alternatives:
  • Put food in while hot - it won't get soggy or melt the bag
  • No worries about BPA's and the like leaking into your food
  • Sanitary - machine washable in HOT water, unlike plastic-lined alternatives
  • Cute and stylish
  • Easy to make
  • No 'Velcro' means they last much longer, however you wash them.
You will need:
Denim - You can usually make at least 8 bags from one pair of old jeans. (Note - stretch denim is more difficult to sew on a machine.)
Strong thread - a contrasting color is nice.

Friday, January 4, 2013

Stained Glass Craft Tutorial

This week I took over a craft class for elementary school girls in our neighborhood. The craft is supposed to relate to the Torah portion of the week. This week's portion is "Shemot" the first portion in the book of Exodus, where Moses encounters G-d in the form of a burning bush.  


I've been itching to join the fun of "Craft Schooling Sunday" over at Creative Jewish Mom, and I already wrote the instructions out for my mom, I though I might as well share with all of you! This project was inspired by a project my mom used to do with acetate  as well as numerous other projects around the blogosphere. It was designed to be done in one hour with supplies I already had in the house.


I showed the girls (and a couple moms) pictures of other burning bush inspired stained glass. Then I asked them to draw what they thought the burning bush looked like. 

Tuesday, November 20, 2012

Kefir - Not Your Mamma's Yogurt


Kefir Starter Grains
Last week I told you how my mom's friend, Liz, taught her to make kombucha. Today I'll tell you haw my mom made kefir, a fermented milk* beverage. You can probably find kefir in the dairy section of your local health food store. But why buy it when it's so easy to make?

*Kefir can be made from animal (cow, goat, buffalo) milk, as well as coconut water and other vegan 'milk' (soy, rice, almond, etc.).

Add milk.
Compared with kombucha, kefir is incredibly fast to make, and kefir starter grains are comparably easier to acquire than a kombucha 'mother'. But unlike kombucha, we don't recommend you start your kefir and then go out of town for a few weeks! Dairy milk takes less than 24 hours to ferment; non-dairy liquids take closer to two days.

My mom found this kefir starter on the internet, but you can also get starter grains from any neighborly kefir maker. Liz started my mom out with some kefir starter grains in a clean glass jar. The grains look a little bit like the cauliflower or the curds in cottage cheese.

Monday, November 5, 2012

Are You My Mother?


I've been a little obsessed lately with the idea of naturally "cultured" or fermented foods and drinks, but I haven't actually made anything. I really enjoyed learning about the beer-making process; however, I think my husband would be too scared to even allow me to keep a little kimchi on the counter.

My mom, on the other hand, has been chomping on chia seeds, sprouting, and juicing her own wheat grass for some time now. We had both been reading a lot about the positive health effects of eating fermented foods that contain large numbers of probiotics. While I was piling extra sauerkraut on my falafel, my mom has been guzzling Kombucha, a fermented tea drink, and mixing her muesli with kefir, a fermented milk yogurt-type drink. (Check back next week to learn about kefir.)

My mom had been purchasing both of these products at her local health food market when her friend, Liz, offered to teach her how to make them. I sent her with strict instructions to take lots of pictures and give me the full report.

Tuesday, September 4, 2012

Homebrewing - Part 2: The Process, Amazing Hops, Useful links


This is the second post in our series on brewing beer at home, by special guest, award winning brewer Boaz Harel.  CLICK HERE to read Part 1: Why make your own beer?

One little piece of advice before you forge forth: Looking at all this stuff can be intimidating, and it's easy to get overwhelmed or feel like this is too complicated for you to do. It's not. Making beer is easy. Primitive stone age people did it 6000 years ago with clay pots and a bonfire, it it worked fine. The only difference now is that we've got much better equipment, and many more people to help you if you get stuck.

Using Wort Extract by Jason Pratt
In the Part 1 I discussed why you should brew your own beer at home. Now, I'm going to talk about the basic process of brewing, and try to tackle some of the common questions of new homebrewers. If you are familiar with the process (or are just impatient) you can skip to the links at the bottom of the post for more concrete instructions and resources for brewing at home. 

Let’s start with the most basic question: What does brewing involve, exactly? Well, simply put, when you brew you take the sugars and flavors from malted grain, mix it with water, boil, season to taste, cool, and ferment. See? It's simple! Now go brew!

Ok, so maybe it's not as simple as it sounds. To get the sugar out of the grain you have to rinse it out with water at specific temperatures for specific times, using the twin processes of "mashing" (soaking the grain) and "luthering" (rinsing the grain and filtering out the particles). Doing this at home means that you start with a bunch of dry grain and end up with a big pot's worth of grain-flavored sugar water, known as "wort." When you start your brewing from grain you are using "all-grain" brewing.

Tuesday, August 7, 2012

Homebrewing - Part 1: Why make your own beer? Guest Post

Boaz with Sam Adams Award
I am honored to introduce Boaz Harel, the first place winner for Pale Ale in the 2012 Sam Adams Longshot home brew competition in Israel, and author of the Three Cats Brewery Blog. Boaz is also married to  Maya, the author of the hilarious and informative blog How to Be Israeli. I first met Boaz and Maya when we were college students in Pittsburgh, Pennsylvania. This October we both welcomed our first "Made in Israel" babies into the world. Congratulation Boaz and Maya!

Let's try a simple exercise. Go get yourself a glass of cola. Now look at the glass and ask yourself what's in it. Chances are you couldn't answer the question, and with soft drink companies being so cagey about their products (and for a reason - if you knew what was in it you'd probably never drink it) you'll probably never know. Now go get a glass of beer and the same question. What's in this? The answer to that question is just four words: water, malted barley, hops, and yeast. What's more, all the wonderful variety of beers in the world, from the black roasty Guinness, to the pale crisp Bud Light, is made from those same basic four ingredients. Water, Malted Barley, Hops, Yeast (and magic :) ).
Beers from Three Cats Brewery

In fact, beer is such a simple, easy, and natural beverage, that you can actually make it at home. In the second part of this post I'll show you how, but before we get into that, let's talk a little about what beer is, and why you should make it. 

Sunday, May 6, 2012

For the Love of Goats

Sometime in elementary school I decided I wanted a baby goat as a pet. Was it on the visit with my aunt and cousins to a farm in New Jersey where we got to hold ducklings, chicks, chickens, and kid goats? I remember how special I felt being the only kid in the family big enough to hold these adorable little kids. Maybe it was the family trip to the Blue Ridge Mountains of North Carolina where we purchased ice cream cones full of goat food, before entering a trail of tourists trying to avoid being attacked by goats.

Since then, I've always held a flame for goats. But, until I have space and time for goats, I will settle for making our household favorite - goat yogurt cheese with olives, crocheting with mohair, and reading to my kids from the copy of Gregory, the Terrible Eater that my grandmother gave me when I was a kid.


Check out my photo essay and restaurant review on Facebook and don't forget to "Like" Cooking Outside the Box to see links I share and what I've been up to in the kitchen between blog posts.

Sunday, April 29, 2012

Adventures in Gefilte Fish


For Passover this year I made gefilte fish. From scratch. Why? First, our family follows the Chasidic custom of not eating wet matzoh (gebroks in Yiddush, Shruria in Hebrew). That means we don't eat matzoh balls or matzoh bri on Pesach. We also don't eat most processed/manufactured foods during Pesach for kosher and health reasons. Second, I like a little food adventure, especially in traditional food making techniques.

I started with a whole frozen carp. It came in an opaque bag, so I didn't exactly know what I was getting.  I had to start with frozen since my husband won't let me bring a live carp home and keep it in the bathtub.  You see, carp are bottom feeders and their taste is greatly improved when they are kept in clean water for a couple days.

Tuesday, March 20, 2012

Make your own "Ferrero Rocher"

In honor of my Mom's birthday today I want to share this delicious chocolaty recipe. My friend Tzippy made these knock-off Ferrero Rocher truffles and my mom and I got to try them a couple weeks ago.  Amazing!

Makes 25 balls of nutty, creamy, goodness.

Ingrediants
150 gr (5.3 oz) nut cream filled "gliliyot" Pirouline/Pirouette style rolled wafers with hazelnut creme filling
50 gr (1.8 oz) roasted and peeled hazelnuts
200 gr (7 oz) nougat spread
25 whole hazelnuts - optional

topping:
150 gr (5.3 oz) dark chocolate
"krookant" crushed pralines/chopped, toasted and candied nuts (see image) - optional

  1. In a food processor, finely chop "gliliyot" rolled wafers and 50 grams of nuts. Add nougat spread and mix well.
  2. Cool in the refrigerator for about three hours.
  3. Create balls and place on baking paper. You can leave them in the freezer for 10 minutes if the balls are too messy.
  4. Place whole hazelnuts in the center of each ball, if you want.
  5. Melt chocolate
  6. Dip each ball in chocolate and roll in krookant crushed nut topping.

Have a lovely spring to all and... Happy birthday Mom!!

Friday, February 10, 2012

Make Yogurt Cheese - No cooking required

I had some down time in a mall last week and spent about 45 minutes browsing a beautiful gourmet food and cooking store - Lagaat B'ochel. One thing I saw was a "Yogurt Cheese Maker."  The instructions seemed so easy - just pour yogurt into the mesh insert in the plastic container and put it in the fridge for a few hours.  I thought, "I can do that, and I don't need to buy this "uni-tasker" to do it!"

  1. You will need a clean, thin piece of cloth, cheese cloth, or extra fine mesh.  I used an old fashion flat cloth diaper or "mussy." Note, if you use cloth you may not have usable whey, just a very wet cloth.
  2. Lay the cloth in a container so it is not touching the bottom. Secure it with a rubber band.
  3. Add any yogurt. I used a small individual serving container to try this out and got enough cheese to spread generously on four pieces of bread.
  4. Set the cover or a plate over the container and wrap any extra cloth over the top.

Tuesday, December 27, 2011

What's In It?

I often use prepackaged spice mixes.  Since you might not be able to find exactly what I'm using, I thought I'd share what is commonly in these mixes.  Different families, stores, and villages have different recipes, but the list below is a good representation of the common make-up, and most closely resembles what I'm using and what you should be able to find.  This is in preparation for a Yemenite meatball recipe I will post on Friday.

Hawaig Yemenite Seasoning from Food.com
6 1/2 tablespoons black peppercorns
1/4 cup cumin seed
2 1/2 tablespoons coriander seeds
1 1/2 tablespoons green cardamom pods
1 1/2 teaspoons whole cloves
3 1/2 tablespoons ground turmeric

Za'atar Middle Eastern Seasoning Mix from About.com
1/4 cup sumac
2 tablespoons thyme
1 tablespoon roasted sesame seeds
2 tablespoons marjoram
2 tablespoons oregano
1 teaspoon coarse salt

Wednesday, December 21, 2011

Dulce de Leche

from www.nrg.co.il
To celebrate the heroic deed of Yehudit, who intoxicated the general of the opposing army with cheese and wine before slicing off his head, dairy products are often eaten on Chanukah.  What better way is there to enjoy dairy than caramelized?  My dad's family spent a couple generations in Argentina, so our family was eating "Dulce de Leche" before Ben and Jerry put it in ice cream.  It is also a popular sufgania (donut) filling here in Israel.  In Hebrew it is called "ribat chalav," literally milk jam.

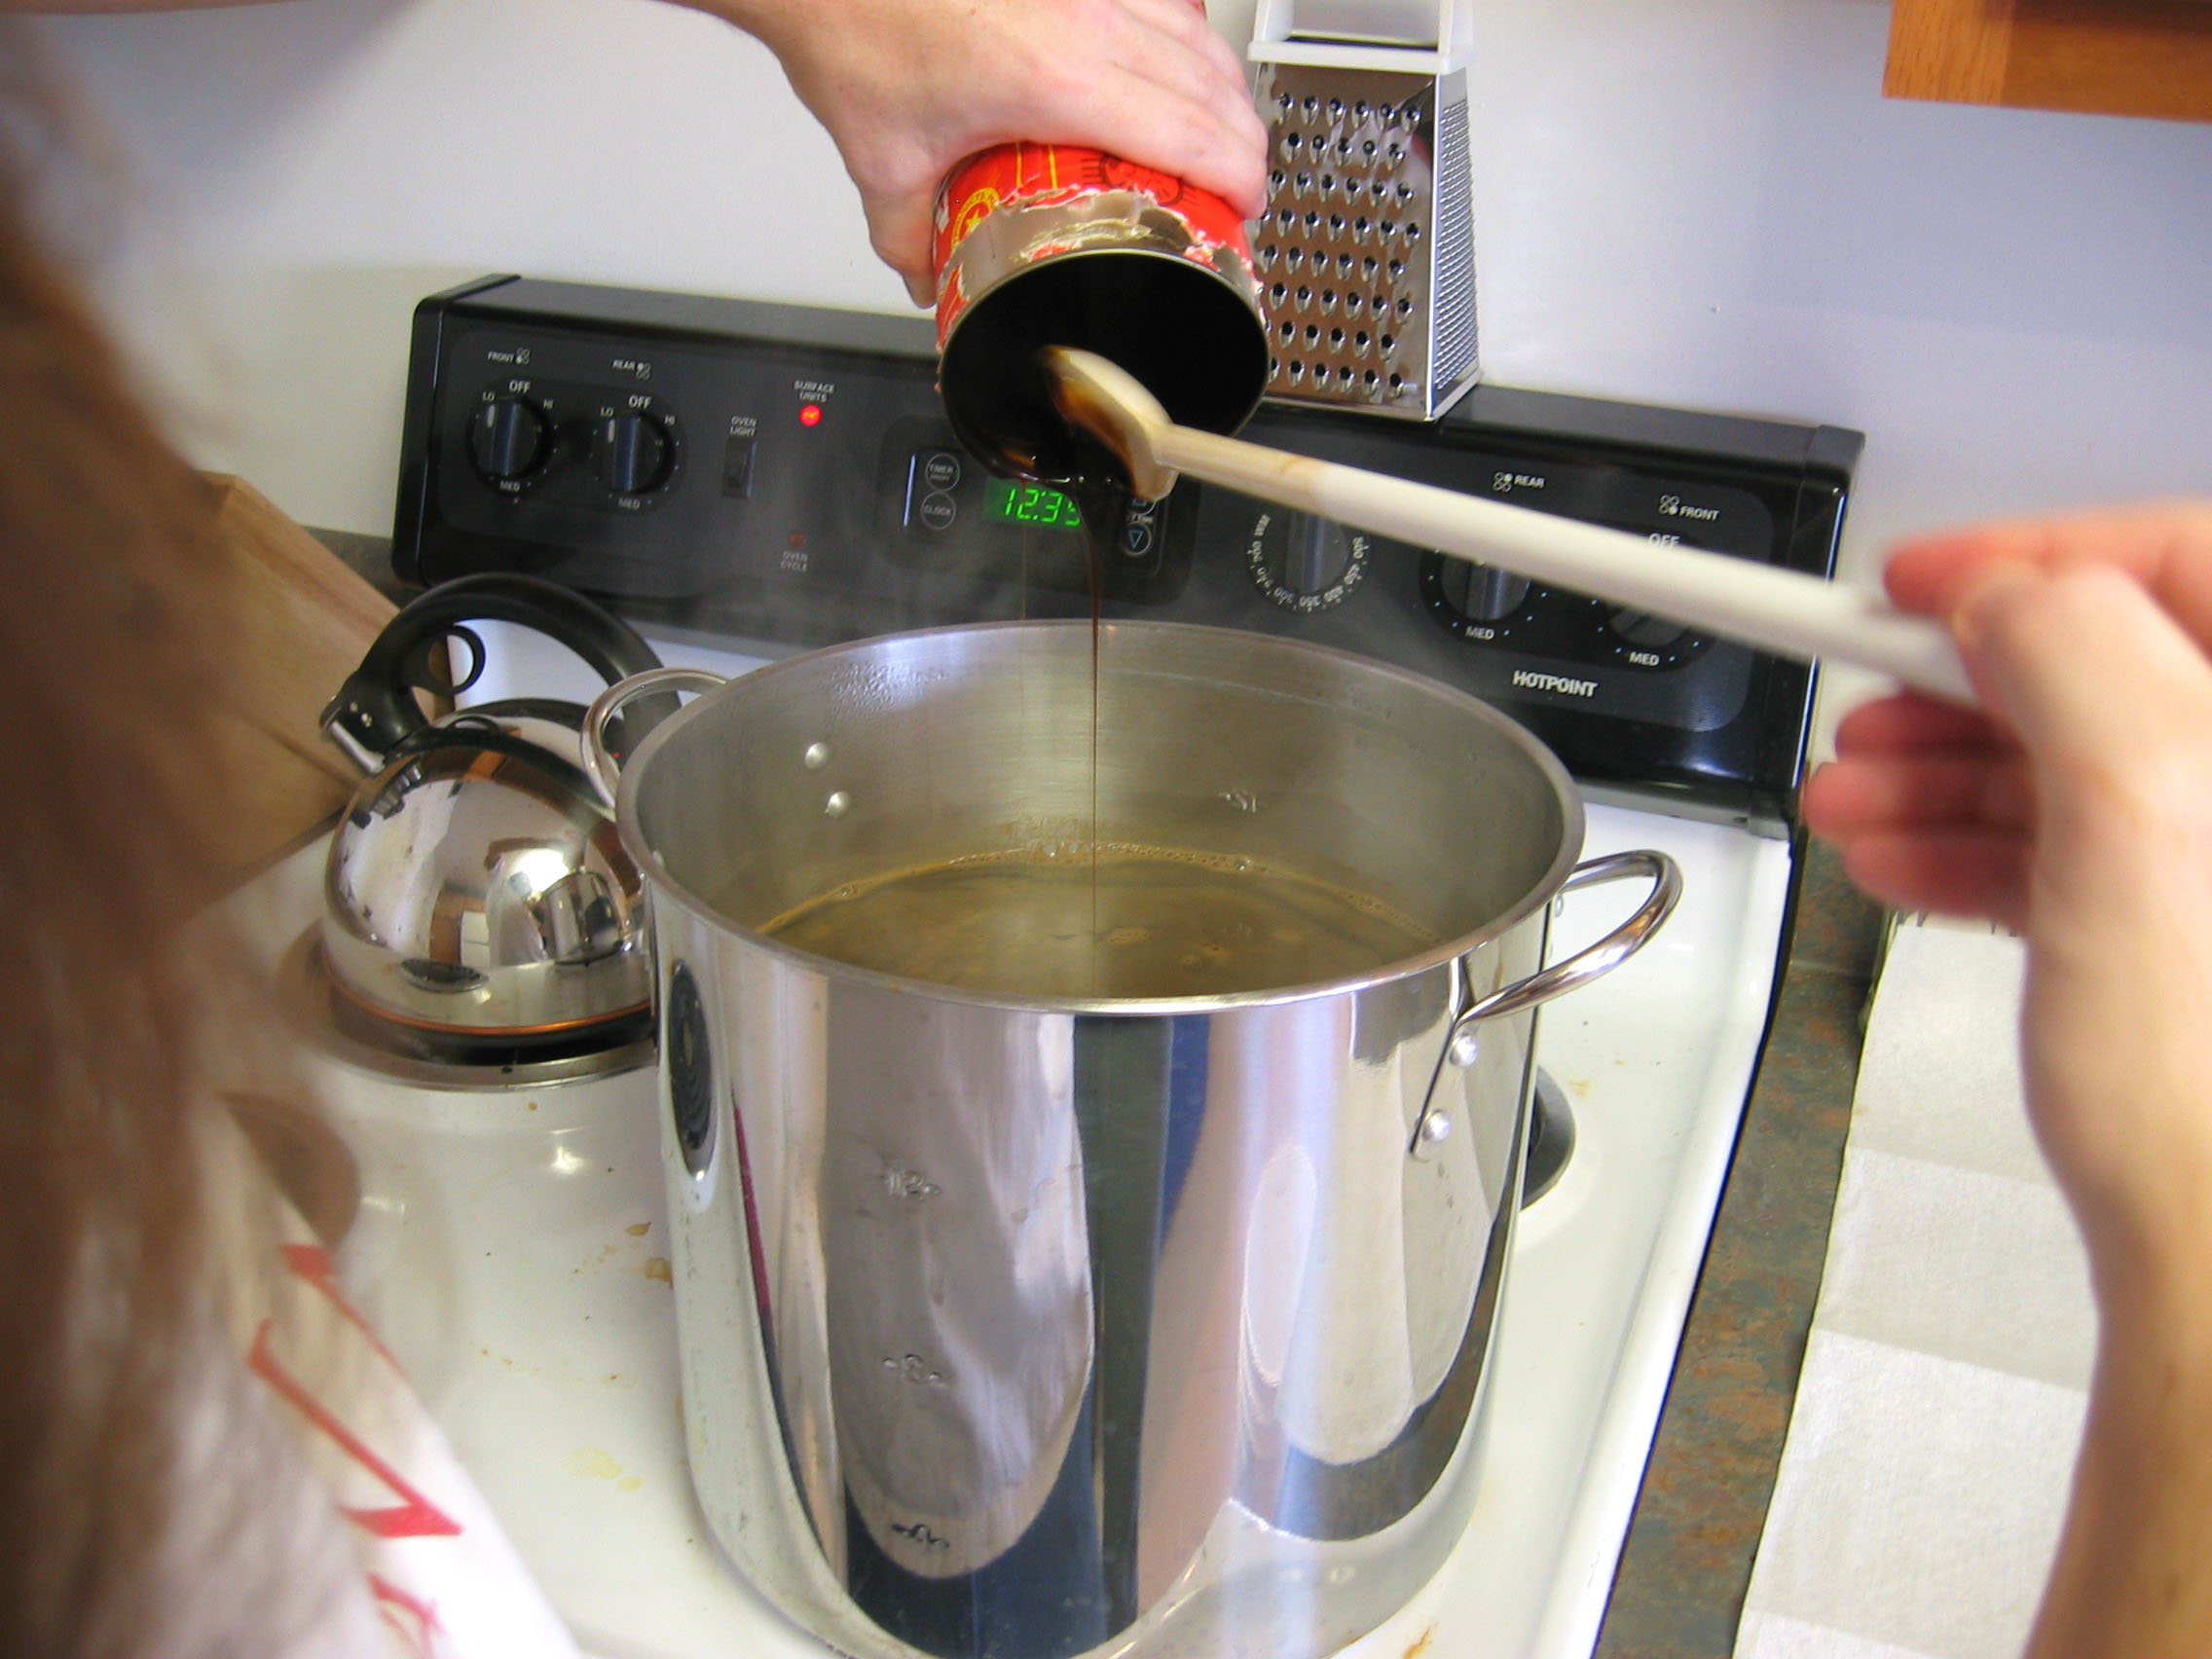
Here in Israel I buy it in a jar on the shelf with peanut butter and jam (though the two are not commonly eaten together.)  It is sold in original, chocolate, vanilla. creme, and coffee flavors.  But my family in the United States makes it from a can.  And it's EASY!

Sunday, August 14, 2011

Make Pre-mixed Bulgur Salad

The end of summer is a busy time.  Everyone I know seems to be moving, having a baby, taking a last minute vacation, or getting ready for school to begin.  Busy times can lead to poor food choices, so I want to take this post to remember an old favorite - instant bulgur pilaf.

Bulgur wheat is pre-boiled, dried, and cracked.  It cooks as easily as instant oatmeal, is faster and healthier than instant rice, and fit for lunch or dinner.  And, it's a whole lot cheaper than pre-packaged grain mixes.

You will need a clean container that closes tightly.  I'm using the jar from instant coffee.  Before you begin, check all your ingredients and spices for bugs.  (One wormy walnut will ruin your whole batch.  Ew.)

Fill about halfway with bulgur wheat, then add whatever you like.  The bulgur will double in size, so season accordingly.  Don't be shy!  Have fun, be creative, mix and close tightly.  Here is what went into my last batch:
  • bulgur
  • sun-dried tomatoes (not marinated) chopped small
  • dry shitake mushrooms, broken small  
  • pine nuts
  • dehydrated onions
  • whole mustard seeds 
  • dry thyme
  • dry basil
  • ground coriander seed
  • garlic powder
  • ground red pepper flakes
  • citric acid 
  • salt
For a single serving, poor 1/4 to 1/2 cup of mix into a bowl or hot cup, add twice as much boiling water, stir, cover, wait for grains to absorb all water.

Featured in Slightly Indulgent Tuesday; 8/16/11

LinkWithin

Related Posts Plugin for WordPress, Blogger...